
Headlight restoration across South London, sealed against UV

Cloudy headlamps are one of the few jobs where the difference between a good result and a wasted afternoon comes down to a single step at the end. Anyone can make a lens look clear for a fortnight. Making it stay clear means putting ultraviolet protection back on a surface that has just had all of its original protection removed. That is how we do it at our Hackbridge bodyshop, alongside the paint and panel work, from £49. We start by deciding whether your lamps are worth restoring at all, and we will say so if they are not.

  • ★★★★★ 4.9/5 from 87 Google reviews
  • From £49 · 1–2 hours
  • Mon–Sat 8am–8pm
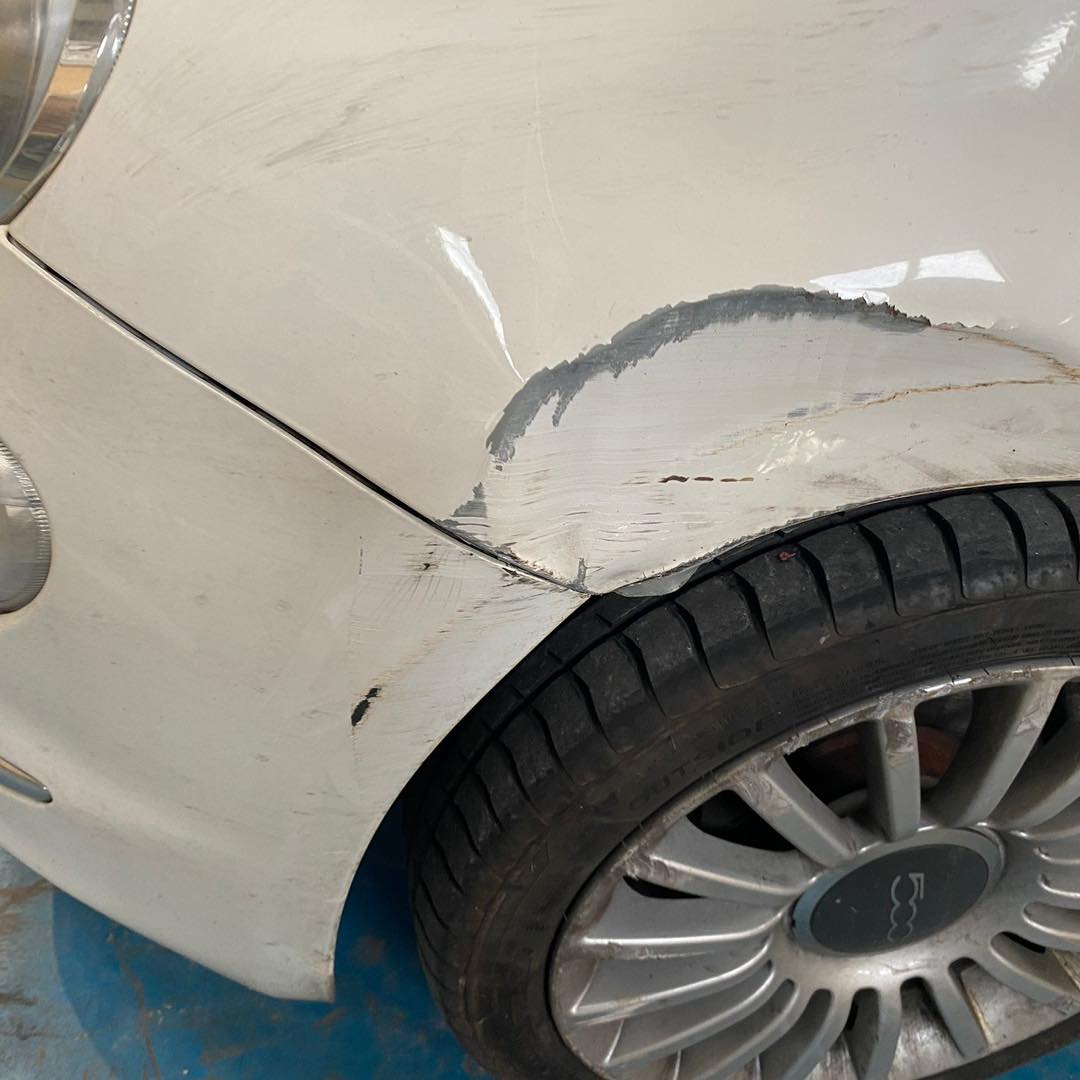
Front-end panel work in the bodyshop at KITH Cars Garage & Bodyworks, Hackbridge
From £49Written quote before we start
1–2 hoursTypical time in the workshop
3 monthsWorkmanship warranty
17 areasCollection across South London

Assessed before anything is sanded

We check for internal misting, reflector failure and cracks first. If restoration will not work on your unit, you find out before you pay, not afterwards.

UV clear coat every time

Sanding removes the factory hard coat, so we always put ultraviolet protection back. A polish-only finish is cheaper to sell and hazes over within months.

Masked to bodyshop standards

The surrounding paint, grille and trim are protected properly, which matters when you are working abrasives and solvents within a few centimetres of a wing.

Replacement priced honestly

When a new unit is the right answer we tell you what it costs, including any coding, rather than pushing a repair that will not last.

How we handle headlight restoration at Hackbridge

Because this is a bodyshop, headlamps get treated the way a panel would. Tape and film go over the bonnet edge, the grille, the wing and any surrounding trim before an abrasive comes near the car, since polycarbonate dust and a slipped sanding block will mark paint instantly. On some vehicles the lamp comes off the car entirely, which sounds like extra work but gives clean access to the edges where oxidation is always worst, and it keeps water out of the engine bay during the wet stages. Where a unit is awkward to remove or involves disturbing a bumper, we say so and price it before starting.

Assessment comes before anything else, and it is the part of the job customers rarely expect. We look for condensation in the housing, a reflector that has gone dull or started to peel, a cracked lens, a failed projector or a broken mounting lug, because none of those are surface problems and no amount of work on the outside will touch them. If that is what we find, the honest answer is a replacement unit, and we will price one rather than take your money for a polish that changes nothing. Sometimes the finding is simply that the lens is fine and the bulbs are tired.

The finishing stage happens in a clean environment rather than on the forecourt, because a UV clear coat picks up airborne dust exactly like lacquer does. The coating is left to cure properly before the car goes anywhere, and we check the beam pattern afterwards so you are not collecting a car that looks better and aims worse. Pricing is agreed in writing beforehand and depends on how far gone the lenses are: light haze is quick, deep crazing takes far longer at the coarse grades. We quote for what your lamps actually need after looking at them.

Headlight Restoration: what’s involved

Headlamp lenses stopped being glass decades ago. Modern units use moulded polycarbonate, which is light and tough enough to survive a stone strike, but on its own it degrades badly in sunlight. The factory answer is a thin hard coat applied to the outer face, usually a siloxane or acrylic layer carrying ultraviolet absorbers. That coating, not the plastic, is what keeps a new lamp clear.

The coating has a finite life. Ultraviolet light, heat from the bulb behind it, motorway grit, harsh traffic film removers and the brushes in a rolling car wash all wear it thin, and once it breaks down the polycarbonate underneath begins to oxidise. That is what produces the familiar yellow-brown tint, the milky cloudiness and the fine network of surface cracks known as crazing. Light output drops as the surface scatters the beam, and the pattern thrown onto the road loses its sharp cut-off long before the driver notices how dim things have become.

Signs your headlamps need restoring

Yellow or amber tint

The lens looks brown in daylight even after washing. This is oxidised polycarbonate, and no amount of cleaning will shift it.

Milky or foggy surface

A hazy film that feels slightly rough under a fingertip, worst on the upper face where the sun hits hardest.

Crazing

Very fine cracks across the outer surface, often visible only at an angle. They mean the hard coat has failed rather than simply worn.

Weak, scattered beam at night

The road ahead looks flat and the beam has no clean edge. A deteriorated lens can cut usable light output substantially.

Peeling coating

Patches where the original coating has lifted, leaving clear areas next to cloudy ones and a blotchy appearance.

An MOT comment about the lamp

Headlamps that are deteriorated badly enough to reduce light output are a defect, and a poor beam pattern will be noted at test.

Sandblasted lower edge

Cars that cover motorway miles pick up thousands of small stone strikes low on the lens, which pit the surface and dull it.

One lamp worse than the other

Common where a car is parked with one side facing the sun, or where one unit has been replaced at some point in its life.

When is restoration the right answer?

Restoration works when the damage is on the outer surface of an otherwise sound unit: yellowing, haze, light crazing, stone pitting. Address it as soon as the beam starts looking soft at night, because oxidation runs deeper the longer it is left and eventually cannot be sanded out without taking away too much material. It is also a sensible job before an MOT or before selling, since cloudy lamps make an otherwise tidy car look neglected from twenty feet away.

  • As soon as the lens looks yellow or hazy rather than clear
  • Before an MOT if light output or beam pattern looks poor
  • Typically from around five to eight years of age, sooner on a car parked outside
  • When the car is being prepared for sale
  • Not the right job at all if the unit is cracked, misted inside or has a failed reflector

How we restore a headlamp lens

  1. Assess the unitWe look at whether the fault is outside or inside. Condensation, a dull or peeling reflector, a damaged projector or a crack through the lens all rule restoration out, and we say so before taking any money.
  2. Clean and maskThe lens is washed and degreased, then the surrounding paint, bonnet edge, grille and trim are masked with tape so no abrasive touches bodywork.
  3. Cut back the failed coatingWet sanding starts with a coarser grade, commonly around 800, worked with plenty of water to remove the degraded coating and the oxidised layer beneath it.
  4. Refine through the gradesWe step through finer papers, typically 1200, 2000 and 3000, changing sanding direction at each stage so we can see when the previous grade's scratches have gone. Skipping a grade leaves marks that show through later.
  5. Machine polishA compound on a machine polisher brings the surface back to optical clarity and removes the last of the sanding haze.
  6. Prepare for coatingThe lens is cleaned with a suitable solvent wipe and dried thoroughly. Any residue left at this stage will show as a blemish under the clear coat.
  7. Apply UV-stable clear coatA two-pack clear or a dedicated UV hard coat is applied, which is the step that replaces the protection the sanding removed. Without it the bare polycarbonate will yellow again.
  8. Cure and inspectThe coating is left to cure properly before the car is handled, then the lens is checked in good light for runs, dust or missed areas.
  9. Beam check and handoverWe check the beam pattern and aim, unmask the car and explain how to look after the finish.

Materials and replacement units

The materials matter more than most people expect. We use graded wet-and-dry abrasives, a polishing compound suited to polycarbonate and a clear coat formulated with ultraviolet absorbers, because a general-purpose lacquer with no UV package will yellow along with the lens it is protecting. Where a unit is beyond saving, we source OE or OE-equivalent replacements carrying the correct E-mark for road use.

  • Wet-and-dry abrasive papers from around 800 through to 3000 grit
  • Polishing compound formulated for polycarbonate
  • Two-pack or dedicated UV-stable clear coat
  • Masking tape and film to protect paint and trim
  • OE or OE-equivalent replacement headlamp units where needed
  • Bulbs and lens seals where they are the underlying problem

How long it takes

1–2 hours

A pair of lamps usually takes one to two hours of work, plus curing time for the coating before the car is driven. Heavily crazed or deeply pitted lenses need longer at the coarser grades. We will tell you when you book whether to wait or leave the car for the morning.

What’s included

  • Assessment of whether restoration or replacement is appropriate
  • Full masking of surrounding paintwork and trim
  • Multi-stage wet sanding and machine polishing
  • UV-stable clear coat applied and cured
  • Beam pattern and aim checked afterwards
  • Aftercare advice on washing and protecting the finish

What people get wrong about headlight restoration

Reaching for toothpaste or metal polish

It takes the top off the haze and leaves fine scratching behind, with no protection at all. The lens usually looks worse three months later than before it was touched.

Stopping at the polish

A beautifully polished lens with bare polycarbonate on the surface is unprotected. Skipping the coating is the single most common reason restorations fail.

Trying to cure misting from outside

Condensation inside the housing comes from a failed seal or a blocked breather. Working on the outer face cannot reach it, however good the finish looks.

Running a rotary too hot

Polycarbonate softens with heat far sooner than paint does. Too much speed and pressure can distort the surface, and a distorted lens throws a poor beam.

Price your headlight restoration now

Enter your reg and we’ll look up your car, then price the job from our own labour rates and the book time for your model. Nothing is booked until you say so, and the written quote comes before any work.

  • Free, about 30 seconds, no sign-up
  • Parts, labour and VAT included
  • 3-month workmanship warranty
  • Collection and delivery across South London
“It’s rare to find a garage you can truly trust. Fair price, brilliant customer service.”Thinushan K. · ★★★★★ Google

Prefer to talk? Call 020 4629 9469 or WhatsApp us.

Loading instant quote…

Headlight Restoration: your questions answered

Can you do just one headlamp?

We can, but we usually advise against it. A restored lens next to an untouched one makes the difference obvious from the front of the car, and the second lamp will normally need doing within a year anyway. If one unit has been replaced recently and is genuinely clear, doing the single old one makes sense.

How soon can I wash the car afterwards?

Leave it a few days before washing, and longer before anything with a pressure washer aimed directly at the lamp. The coating cures hard in the workshop but continues to harden afterwards. Avoid traffic film remover and strong solvent cleaners on the lenses permanently, not just at the start.

Is the work covered if it goes cloudy again?

Our 3-month workmanship warranty covers the restoration we carried out, so if the coating fails or lifts in that time we will put it right. It does not cover fresh stone damage, a lens attacked with an aggressive cleaner, or a unit that later develops an internal fault. We will tell you at the assessment if we have any doubt about how well a particular lens will take the coating.

Will this get the car through its MOT?

If the lamps were the problem, restoring them removes that defect, since a lens deteriorated enough to reduce light output is a test failure. It does nothing for headlamp aim, a blown bulb or anything else on the car, so it is not a pass in itself. We check the beam pattern after the work and will tell you if the aim needs setting.

Why does a restored headlight go yellow again?

Because sanding and polishing take away whatever remains of the factory hard coat, leaving bare polycarbonate exposed to sunlight. A lens finished at the polishing stage looks superb for a few months and then hazes faster than it did originally. The clear coat is not an upsell, it is the part of the job that makes the result last.

My lens is cracked. Can you still restore it?

No. A crack goes through the material and lets water in, and abrasives cannot close it. The same applies to a lamp with condensation inside, a reflector whose coating has burnt or peeled, or a broken mounting tab. Those units need replacing, and we would rather tell you that than take payment for a polish that solves nothing.

There is water inside the lamp. What causes that?

Usually a perished lens seal, a blocked or missing breather, or a crack in the housing behind the visible surface. Some units can be dried and resealed successfully, others cannot because the seam is bonded at manufacture. We will open up the diagnosis before committing you to anything.

How long does the finish last?

With a proper UV-stable clear coat applied over a clean, fully refined surface, expect several years of service, and longer on a car kept in a garage or under cover. Life is shortened by constant sun exposure, high-pressure washing right at the lens and strong solvent-based cleaners. Washing normally and avoiding traffic film remover on the lamps will get the best out of it.

Is it cheaper than fitting new headlamps?

Considerably, in most cases. A single genuine headlamp unit for a modern car with projector or LED lighting can run into several hundred pounds before fitting and, on many vehicles, coding. Restoration is worth doing first whenever the unit itself is sound, and nothing is lost by having us look at it and tell you which way to go.

Book your headlight restoration with KITH Cars

Quick booking below. Or call 020 4629 9469.

Written quote before any work begins
No surprises on collection.
3-month workmanship warranty
On every repair.
Pick-up & drop-off across South London
Croydon, Sutton, Mitcham & more.
Mon–Sat 8am–8pm
Call 020 4629 9469WhatsApp Us
1Service
2Details
3Your Info
4Booking

What do you need?

Choose a service to get started.

Your contact details

So we can confirm your booking and send your quote.

Choose a preferred date & time

We'll confirm availability when we get back to you.

Loading…
MonTueWedThuFriSatSun

We reply within 30 minutes  ·  Prefer to call? 020 4629 9469

Booking request sent!

We've received your enquiry and will confirm your preferred slot within 30 minutes. Check your inbox — or we'll call you shortly.

020 4629 9469

What our customers say

Rated 4.9 ★ on Google — 87+ reviews

★★★★★

“BMW 1 Series needed a new timing chain and clutch. Fair price, courtesy car offered. Stands out from most garages.”

Aaron Konadu
★★★★★

“Professional, no upselling, everything explained clearly. Work completed same day and car runs perfectly.”

Ziaur Rahman
★★★★★

“Rare to find a garage you can truly trust. Fair price, brilliant service.”

Thinushan Keitheswaran
Read all reviews on Google ★★★★★
Chat on WhatsApp